Part 2: Install Admin UI for Dns Safety
Note
If possible, always prefer to use the fully configured virtual appliance on your own VMware vSphere/ESXi or Microsoft Hyper-V infrastructure or in Microsoft Azure. Moving on to the new version of DNS Safety will be so much easier!
Having installed the core components of Dns Safety itself on Debian 12 or Raspberry PI we now continue with installation of Admin UI. Remember we are using the installation scripts from our GitHub repository (look for subfolder named ui.deb). Just run the scripts one by one as root.
Step 1. Install Apache
Admin UI for Dns Safety is built up using Python Django and requires Apache web server to run. Run bash 01_apache.sh in the console to install the requirements.
#!/bin/bash

# all web packages are installed as root
if [[ $EUID -ne 0 ]]; then
   echo "This script must be run as root" 1>&2
   exit 1
fi

# install apache and mod_wsgi and some other useful programs
apt -y install apache2 libapache2-mod-wsgi-py3 htop mc net-tools jq \
   sudo dnsutils tmux

# install kerberos client libraries
export DEBIAN_FRONTEND=noninteractive
apt -y install krb5-user
Step 2. Install Admin UI
Run bash 02_ui.sh in the console to install the Admin UI package.
#!/bin/bash

# all packages are installed as root
if [[ $EUID -ne 0 ]]; then
   echo "This script must be run as root" 1>&2
   exit 1
fi

# default arc
MAJOR="2.0.0"
MINOR="22FC"
ARCH="amd64"

# see if it is RPI or not?
cat /proc/cpuinfo | grep -m 1 ARMv7 > /dev/null 2>&1
if [ $? -eq 0 ]; then
    ARCH="armhf"
fi

# default os
OSNAME="debian12"
if [ -f "/etc/lsb-release" ]; then
    OSNAME="ubuntu22"
fi

# download
wget https://packages.diladele.com/dnssafety-ui/$MAJOR.$MINOR/$ARCH/release/$OSNAME/dnssafety-ui-$MAJOR.${MINOR}_$ARCH.deb

# install
dpkg --install dnssafety-ui-$MAJOR.${MINOR}_$ARCH.deb

# relabel folder
chown -R daemon:daemon /opt/dnssafety-ui
Note by default Admin UI is NOT managing the network settings. To enable network management on Debian 12 only, run sudo -u daemon /opt/dnssafety-ui/env/bin/python3 /opt/dnssafety-ui/var/console/utils.py --network=debian12 after last installation step below.
Step 3. Configure Virtual Environment
Run the bash 03_venv.sh command to configure the Python's virtual environment (venv) for the Admin UI.
#!/bin/bash

# all packages are installed as root
if [[ $EUID -ne 0 ]]; then
   echo "This script must be run as root" 1>&2
   exit 1
fi

# install various required python packages from the system repo
apt install -y python3-dev libjpeg-dev zlib1g-dev libldap2-dev libsasl2-dev libssl-dev libatlas-base-dev g++

# install different command on debian 12 or ubuntu
if [ -f "/etc/lsb-release" ]; then
   apt install -y python3.8-venv
else
   apt install -y python3.11-venv python3-openssl
fi

# create a virtual environment in the /opt/dnssafety-ui folder
python3 -m venv /opt/dnssafety-ui/env

# install required packages into virtual environment
/opt/dnssafety-ui/env/bin/pip3 install -r /opt/dnssafety-ui/var/console/requirements.txt

# relabel folder
chown -R daemon:daemon /opt/dnssafety-ui
Step 4. Integrate
Finally, to integrate Admin UI with Apache run bash 04_integrate.sh.
#!/bin/bash

# all packages are installed as root
if [[ $EUID -ne 0 ]]; then
   echo "This script must be run as root" 1>&2
   exit 1
fi

# the dsdnsd daemon will listen on ports 80, 443 for a 'access blocked page'
# so UI will be running on port 8000, it is already set so in
# /etc/apache2/sites-available/dnssafety-ui.conf but we also need to set
# apache to listen on port 8000 instead of port 80 (which is taken by dsdnsd)
sed -i 's/Listen 80/Listen 8000/g' /etc/apache2/ports.conf

# now integrate with apache
a2dissite 000-default
a2ensite dnssafety-ui

# and restart all daemons
service apache2 restart

# one more additional step on ubuntu
if [ -f "/etc/lsb-release" ]; then

    # change cloud config to preserve hostname, otherwise our UI cannot set it
    sed -i 's/preserve_hostname: false/preserve_hostname: true/g' /etc/cloud/cloud.cfg
fi
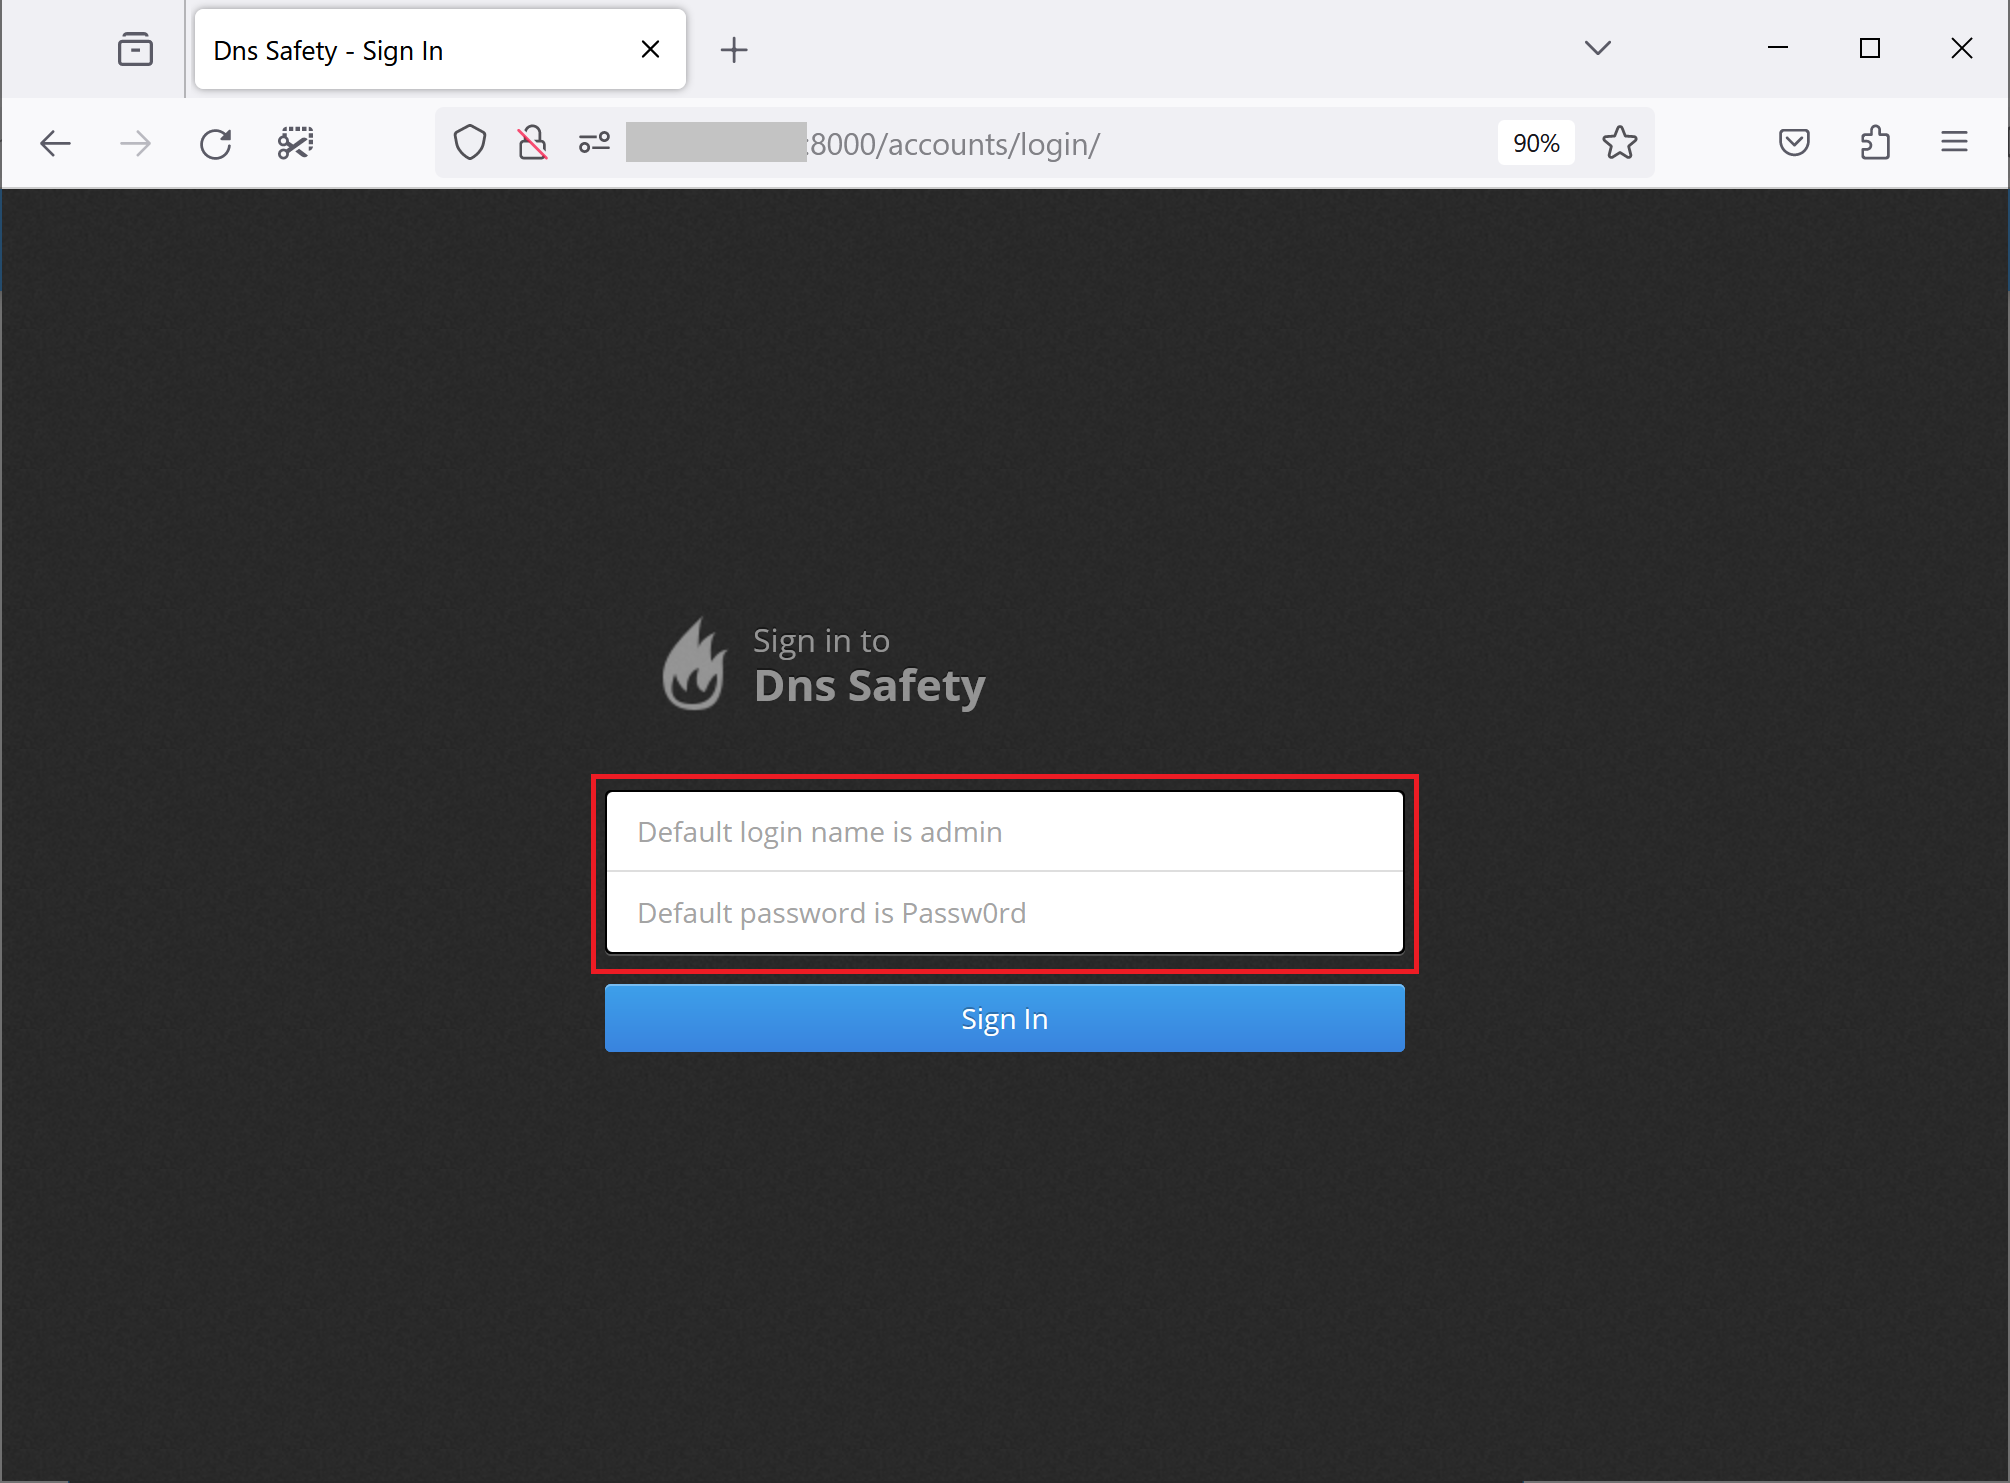
Reboot your server now to see that everything comes back to life correctly after it. After reboot, open your browser and navigate to the IP address of the server, you should see the login page of the UI. Note the Admin UI runs on port 8000!
